How to Wax a Car with a Buffer
 Written by: Edwin Anthony Founder/BloggerPosted on: Wax a car with a buffer ·

Waxing a car isn't just about aesthetics; it's a shield against the elements. This protective layer safeguards your vehicle's paint from harmful UV rays, road grime, and minor scratches. Beyond sun protection, waxing acts as a defensive shield against everyday contaminants. Numerous elements can corrode and stain a car's surface, from tree sap to bird droppings and road salts. But how does one learn how to wax a car to achieve that enviable, mirror-like shine?
That's where a buffer comes into play. While manual waxing has merits, using a buffer ensures a consistent, even spread of the wax. It eliminates patches and streaks, resulting in a smoother finish. Moreover, the buffer's rotating motion generates mild heat, helping the wax bond better with the paint, and enhancing its longevity. Here's an in-depth look at how to wax a car.
Materials Needed for Waxing a Car with a Buffer

1. Car Polisher
2. High-Quality Car Wax
The type and quality of wax you use will determine the protection and shine your car receives. A good wax will offer UV protection, contaminant resistance, and a long-lasting shine.
3. Microfiber Towels
These towels are essential for wiping off excess wax and buffing the car's surface. Their soft texture ensures they won't scratch the paint while providing a high-shine finish.
4. Foam or Wool Buffing Pads
These pads attach to the buffer and are the medium through which the wax is applied to the car. Different pads offer varying levels of abrasiveness, so choosing the right one for your vehicle's needs is crucial.
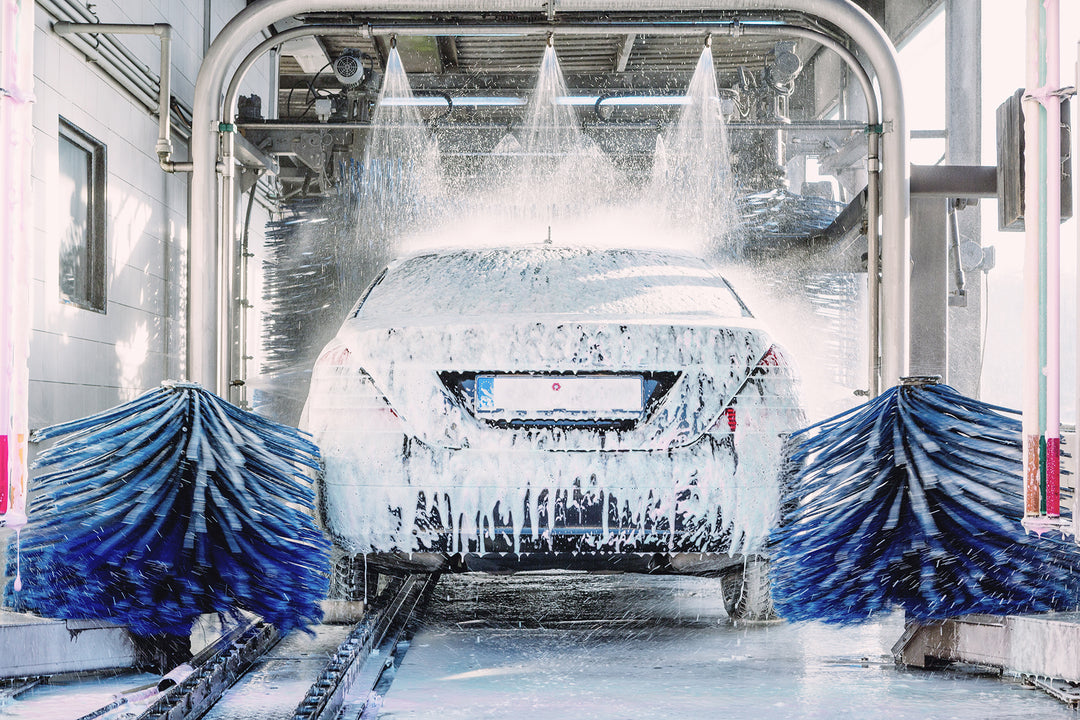
5. Car Wash Soap and Bucket
Before waxing, the car must be thoroughly cleaned to remove dirt and contaminants. A dedicated car wash ensures the vehicle's paint isn't stripped of essential oils.
6. Clay Bar Kit
A clay bar removes embedded contaminants from the paint that washing alone can't remove. This ensures a smooth surface for wax application, maximizing adhesion and finish.
7. Painter's Tape
To protect non-painted surfaces like rubber seals, plastic trim, and glass from the buffer and wax, it's advisable to mask them off. Painter's tape is ideal as it doesn't leave residue behind.
8. Car Polish (optional)

Before waxing, you can use the polish to smooth out minor scratches and swirl marks. It prepares the surface for waxing, ensuring a flawless finish.
Equipped with the right tools and products, you're set to give your car a professional-grade waxing that enhances its appearance and extends the life of its paint.
Choosing the Best Car Wax

Selecting the perfect wax for your car can be daunting, given the myriad options available. However, understanding the different types of car waxes and their benefits can guide you to the ideal choice for your vehicle.
Types of Car Wax

● Paste Wax
● Liquid Wax
● Spray Wax
● Synthetic Wax
● Natural Carnauba Wax
If you're looking for longevity and are okay with a slightly less deep shine, synthetic waxes might be your best bet. However, if the depth of shine is a priority, liquid Wax is the best to consider. You probably wax your car frequently for that fresh shine, so opt for carnauba wax. For those who prefer a longer interval between applications, synthetic car wax is ideal.
Preparations Before Waxing

Before diving into the waxing process, proper preparation is crucial. This ensures the wax adheres well to the car's surface, providing maximum protection and shine. Here are some essential tips and suggestions to consider:
Ensuring the Car is Dry
After washing your car, use a microfiber towel or a chamois cloth to dry it. These materials are super absorbent and help prevent water spots, which can interfere with waxing. If you have access to an air blower or a leaf blower, use it to blow out water from crevices, door handles, mirrors, and other tight spots. This ensures that no water drips out onto the freshly waxed surface.
Using the right cleaning products can significantly affect the final outcome. Detailing Express offers a variety of wash and dry supplies specifically designed to help you achieve a professional-level clean.
Before you wax, sprinkle a little water on the car's surface. Some old wax or sealant might still be present if it beads up. You'll need to strip this off (using a pre-wax cleaner or a clay bar) before applying a new coat of wax.
Before you wax, sprinkle a little water on the car's surface. Some old wax or sealant might still be present if it beads up. You'll need to strip this off (using a pre-wax cleaner or a clay bar) before applying a new coat of wax.
It's essential to wax your car in the shaded area properly. Wax can dry excessively in direct sunlight, leaving streaks or a hazy finish when buffed off.
How to Wax a Car with a Polisher: Step-by-step Guide

Waxing a car with a buffer requires patience, attention to detail, and a bit of practice. The technique and right approach required to learn how to wax a car in the best way is mentioned below. You can achieve a professional-grade finish that enhances your car's appearance and provides valuable protection against the elements.
Apply Wax to the Car
Ensure a clean, dry car. The waxing process can be impeded by any dirt or moisture. Pour or dab a small amount of wax onto a foam or wool buffing pad. You don't need a lot; it's better to add more later than to start with too much. Gently spread the wax on the car's surface using the pad, creating a thin and even layer. Remember, less is more when it comes to wax.
Selecting the right wax is crucial for achieving that desired shine and protection. For a curated selection of top-tier exterior care products, explore Detailing Express's collection of car detailing supplies.
Areas to Focus on or Avoid

These are the easiest to work with and will give you a feel for the buffer. Raised edges or sharp contours can be burnished or damaged by the buffer if you're not careful. Stay away from plastic trims, rubber seals, and glass. If necessary, mask these areas with painter's tape beforehand.
Using the Machine Polisher on the Applied Wax
Begin with the Polisher at a low speed to spread the wax evenly over the section you're working on. Once the wax is spread, increase the Polisher's speed to work the wax into the car's paint. Move the buffer in overlapping circular motions, ensuring all areas get equal attention.
Correct Way to Handle the Machine Polisher
Let the Polisher do the work. Pressing down too hard can damage the paint. Never let the Polisher machine stay in one place for too long. Always keep it in motion to prevent heat buildup, which can burn the paint. Keep the cord over your shoulder or away from the car to avoid contacting the waxed surface.
Ensuring a Smooth and Even Finish
Apply consistent light pressure as you move the Polisher over the car's surface. Periodically turn off the machine and inspect your work in different lighting. Look for any missed spots or uneven areas. If you notice areas that need more wax or buffing, address them before moving on.
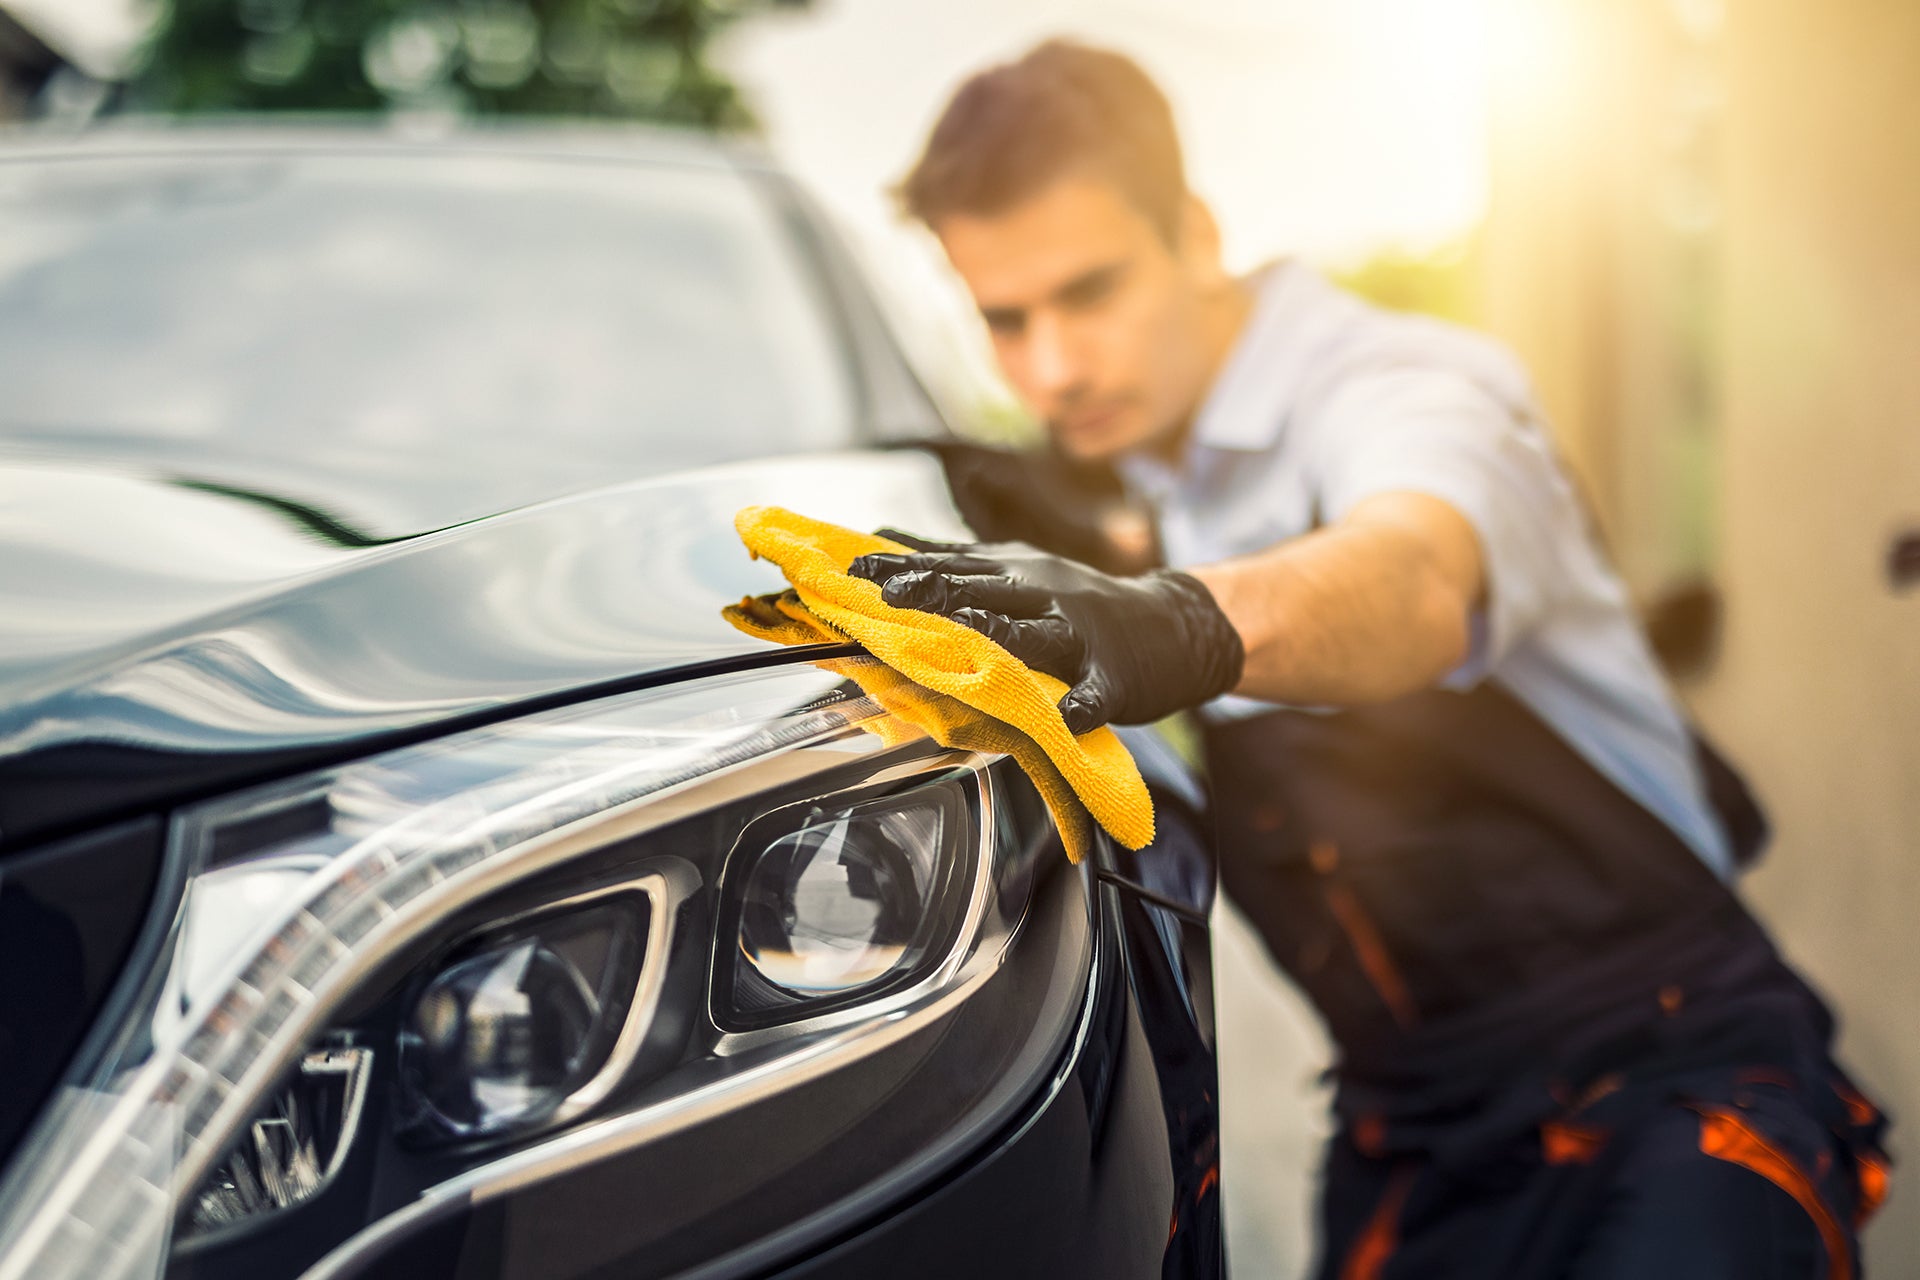
Removing Excess Wax
Once you've buffed a section with a machine polisher, use a microfiber towel to wipe away any residue wax gently to ensure a proper cleaning process. As you're wiping, frequently turn and fold the towel to ensure you always use a clean side. After removing the excess wax, inspect the car one more time. Look for any streaks, hazy spots, or areas that might need a touch-up.
Post Waxing Tips

After investing time and effort into waxing your car, it's essential to maintain that pristine finish and ensure the wax's longevity. Here are some post-waxing tips and recommendations:
Caring for Your Newly Waxed Car

After waxing, it's a good idea to wait at least 24-48 hours before washing your car. This allows the wax to cure and bond appropriately with the paint. When you do wash your car, use a pH-neutral car wash soap. This ensures that the wax isn't stripped off prematurely.
The brushes and chemicals in some automatic car washes can be abrasive and might strip away the wax. Opt for hand washing whenever possible. Whenever possible, park your car in shaded areas or indoors. This minimizes exposure to UV rays, which can degrade the wax over time.
Recommendations on How Often You Should Wax Your Car
The frequency of waxing depends on the type of wax you use. Carnauba waxes might require reapplication every 2-3 months, while synthetic waxes can last up to 6 months or more. If you frequently drive in harsh conditions, like salty roads or areas with high pollution, you might need to wax more often. Older cars with faded or damaged paint might benefit from more frequent waxing to protect and enhance the paint.
While carnauba wax offers a superior finish, especially for show cars, it doesn't last as long as synthetic waxes or paint sealants, especially in extreme climates. However, combining a paint sealant with a carnauba top coat can provide both protection and depth of finish. You can learn more about the differences between carnauba wax and synthetic wax in Practical Motoring's comprehensive guide.
Addressing Common Issues That Might Occur After Waxing
If you notice streaks or a hazy finish, it might be due to the over-application of wax or not buffing it properly. Address this by lightly buffing the area with a clean microfiber towel. Sometimes, the remaining wax residue is left on non-painted surfaces. You can remove this using a detailing brush and a cleaner designed for plastic and rubber trims. If you notice swirl marks after waxing, it might be due to contaminants on the car's surface or using a dirty buffing pad. Consider using a mild polish to remove the swirls and then re-waxing the area.
While achieving that perfect shine and protection for your car is essential, many car enthusiasts also consider a full detailing service to maintain their vehicle's pristine condition. However, the cost of such services can vary based on several factors. If you're curious about what influences the pricing of car detailing, check out this article on the top factors that determine the cost of detailing a car.
Safety Measures When Waxing a Car with a Buffer

To ensure your safety as well as the safety of your vehicle, implement a buffer carefully during the waxing process. Here's a comprehensive guide on safety precautions and how to address any mishaps.
Safety Precautions When Using a Buffer
Before using the buffer, always read the manufacturer's manual. It will provide specific safety guidelines and operational instructions for that particular model. Wear clothing that cannot get caught in the buffer
It's also a good idea to wear closed shoes to protect your feet. Keep your eyes protected from flying debris by wearing safety glasses. If you're sensitive to noise, consider wearing ear protection, especially if using a high-powered buffer.
Before starting, inspect the buffer for any damage, especially the cord and plug. Ensure the buffing pad is clean and securely attached. If using a corded buffer, always keep the cord over your shoulder or in a position that won't come into contact with the rotating pad or get tangled in your feet. Begin with a low-speed setting to get a feel for the buffer and gradually increase the speed as needed.
Handling Mishaps or Accidents

If you accidentally burn through the paint, stop immediately. This will likely require touch-up paint or a visit to a professional to rectify. Presuming you notice swirl marks, they can often be removed with a finer polish and a soft buffing pad. Ensure the pad is clean and free of contaminants. If you drop the buffer, turn it off immediately. Inspect it for any damage before continuing. Check the pad for debris, as it can scratch the paint if not cleaned.
If the buffer malfunctions or you notice any electrical issues, unplug it immediately. Only use it once it's been inspected or repaired. If you spill wax or any other product, clean it immediately to prevent slipping or staining. If the buffer becomes too hot, turn it off and let it cool down before continuing.
Summarizing
Waxing your car properly is more than just a cosmetic endeavor; it's a preservation ritual. You're enhancing its aesthetic appeal and fortifying its longevity by shielding your vehicle from the relentless onslaught of environmental aggressors, from the scorching sun to stubborn contaminants.
Safety precautions are paramount, not just for the vehicle's sake but for the user's well-being. In the journey of car maintenance, waxing stands as a pivotal checkpoint. It's a testament to the car owner's commitment to preserving the vehicle's integrity and appearance. So, as you reflect on the mirror-like finish of your freshly waxed car, remember that this practice is more than skin deep.