How to Remove Swirl Marks Scratches in a Car
 Written by: Edwin Anthony Founder/BloggerPosted on:

Swirl marks on a car's surface, along with scratches, can be more than just a visual nuisance. At Detailing Express, we understand how these imperfections not only diminish the appearance of your vehicle but can also impact its resale value. But what exactly are swirl marks and scratches, and how do they form on your car?
As a leading provider of car detailing supplies, we're here to guide you through the process of identifying and removing these blemishes. With our premium products, you can restore your car's shine and eliminate those bothersome swirl marks and scratches.
Causes of Swirl Marks & Scratches

According to Carwash Country, they explain that swirl marks are typically formed by washing a portion of the vehicle in a circular motion, either with a dirty wash mitt or without proper lubrication. It describes swirl marks as tiny circular micro-scratches formed on a vehicle's clear coat. Swirl marks on a car's paint surface are a common concern for most car owners. These visible swirl marks can be a real nuisance, diminishing the shiny finish that car owners desire. But what causes swirl marks, and how can one remove swirl marks effectively?
Top Causes of Swirl Marks

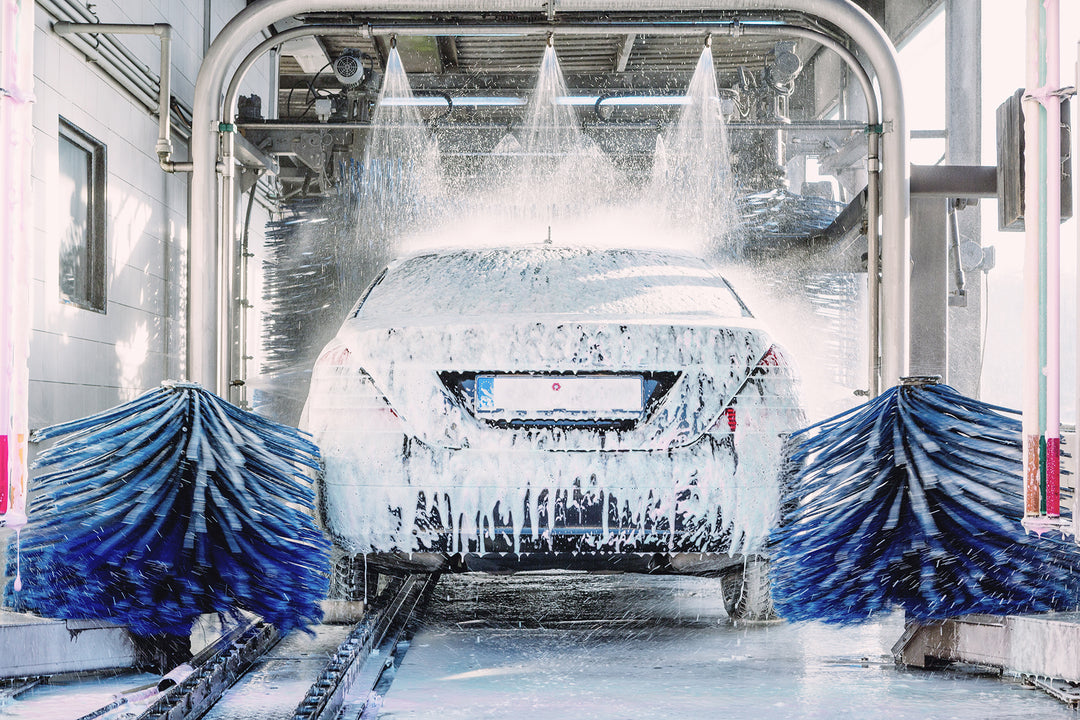
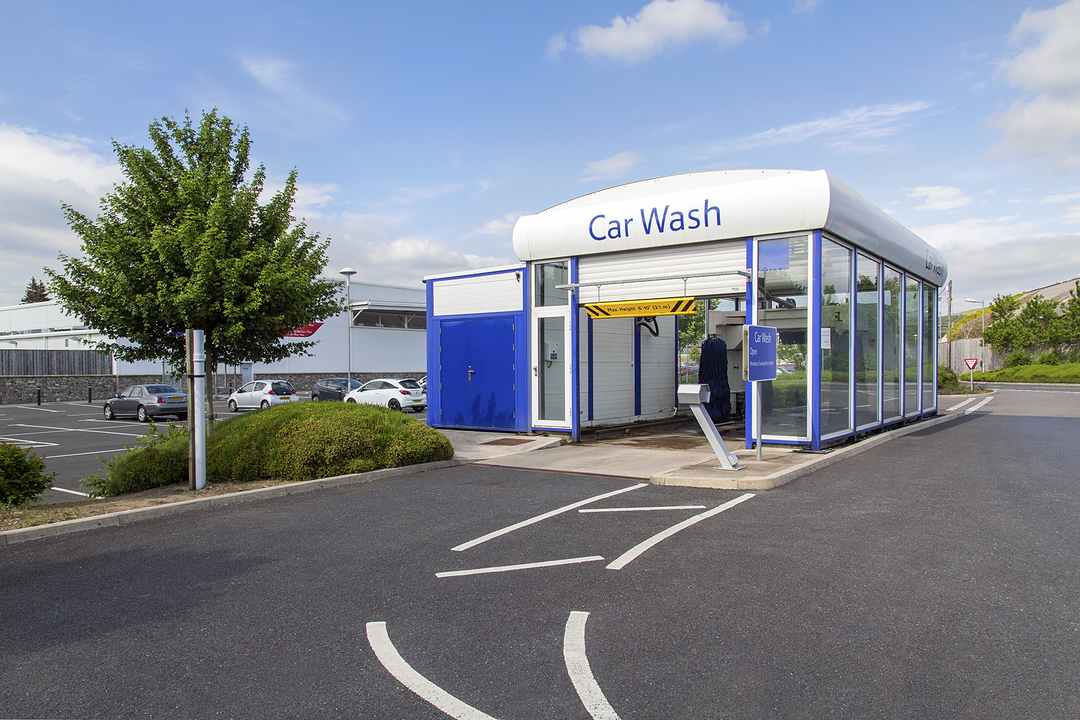
- Automated Car Washes: Automated car washes are one of the primary causes of swirl marks on a car's paint. The bristles and brushes in automated car washes can create swirl marks, especially on dark colored cars. It's advisable to use the two bucket wash method to wash your car properly and avoid creating swirl marks.
- Improper Washing Techniques: Using a car duster or a dirty wash mitt can lead to swirl marks commonly found on painted surfaces. A clean microfiber towel and a separate wash bucket can prevent this effect.
- Polishing Errors: The wrong polishing pad or too much pressure during the polishing process can lead to swirl marks. A foam polishing pad and careful machine polishing can ensure a swirl-free finish.
- Chemical Factors: Some paint cleaners and even a few drops of certain chemicals can affect the car's paintwork, causing swirl marks.
Removing Swirl Marks
1. Identifying the Marks: Under a white fluorescent light, car owners can identify swirl marks and paint surface scratches. Light scratches are often more noticeable on dark colored cars.
2. Pre-Wash: A proper pre-wash using a pressure washer can remove surface dirt and prepare the car for swirl removal.
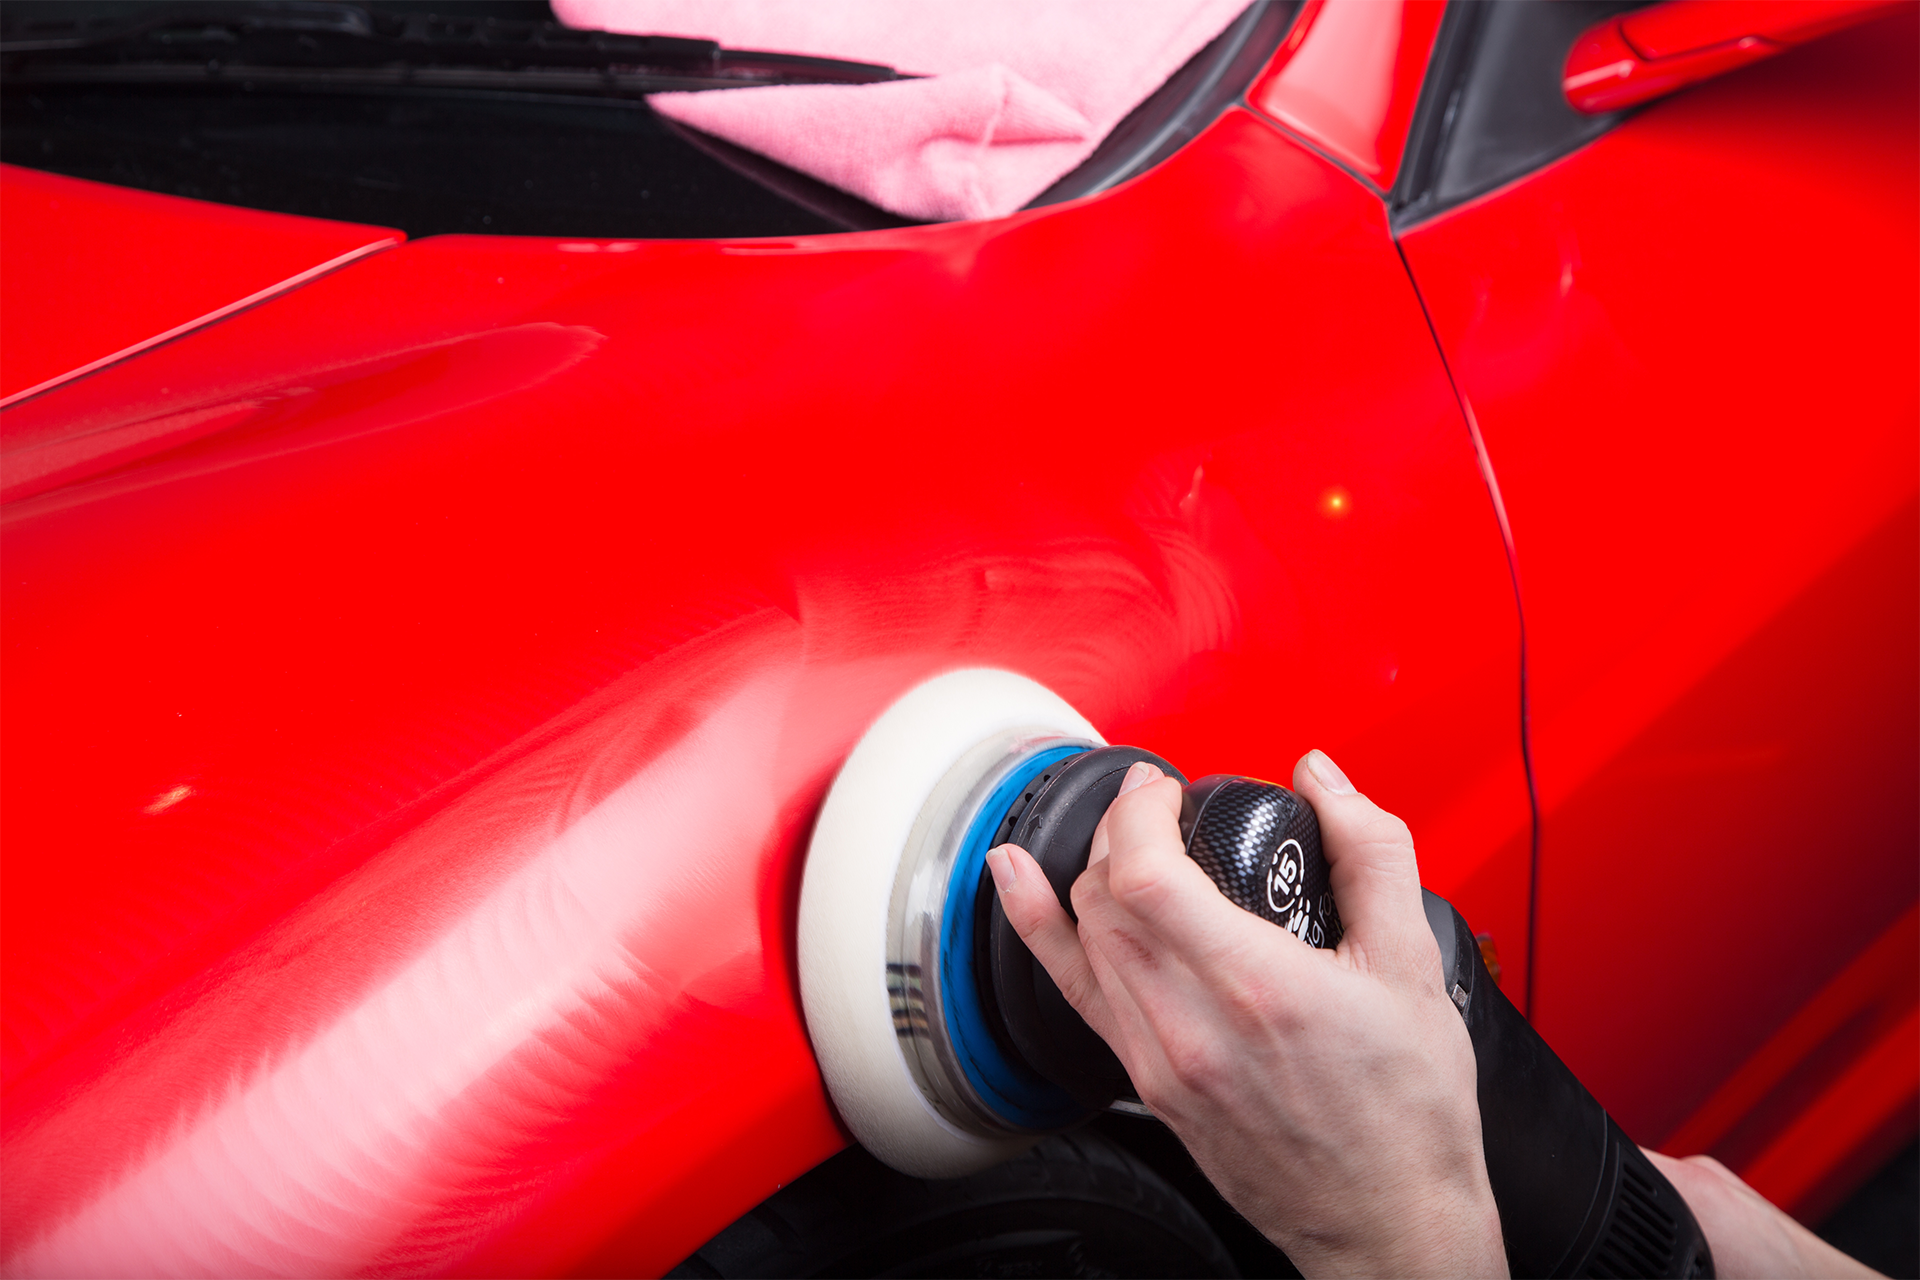
3. Polishing: Finishing polish applied with a clean applicator pad and machine polisher can remove swirls and restore the shiny finish. The polishing process should include circular motions without applying too much pressure, causing swirl marks.
4. Scratch Remover: Professional detailers often use scratch and swirl remover to handle deep scratches and more swirl marks.
5. Final Touches: A microfiber towel, ceramic coating, and excess wax removal ensure a clear, swirl-free finish on flat surfaces and the outer layer of the car's paint.
Swirl Marks and Car Care
Swirl marks on a car can be both prevented and removed. Understanding what causes swirl marks, such as automated car washes and improper car washing techniques, helps in prevention. Tools like a clay bar, polishing pad, and scratch remover, along with proper car detailing services, can remove swirl marks and restore the car's paint to a shiny finish.
At Detailing Express, we offer products like Ceramic PURP High Foaming Car Wash Shampoo and Ceramic Aid S102 Ceramic Coating Rejuvenator as well as Florida Shine to help you maintain your car's shine and keep it free from swirl marks and scratches. Explore our collections for all your car care needs.
Top Causes of Car Scratches

Scratches on a car's paint surface can be frustrating and unsightly. Understanding the common causes of these scratches can help car owners take preventive measures. Here are the top causes of car scratches:
Weather: Extreme weather conditions such as hail, snow, and wind can wreak havoc on a car's paint surface, leading to scratches and wear.
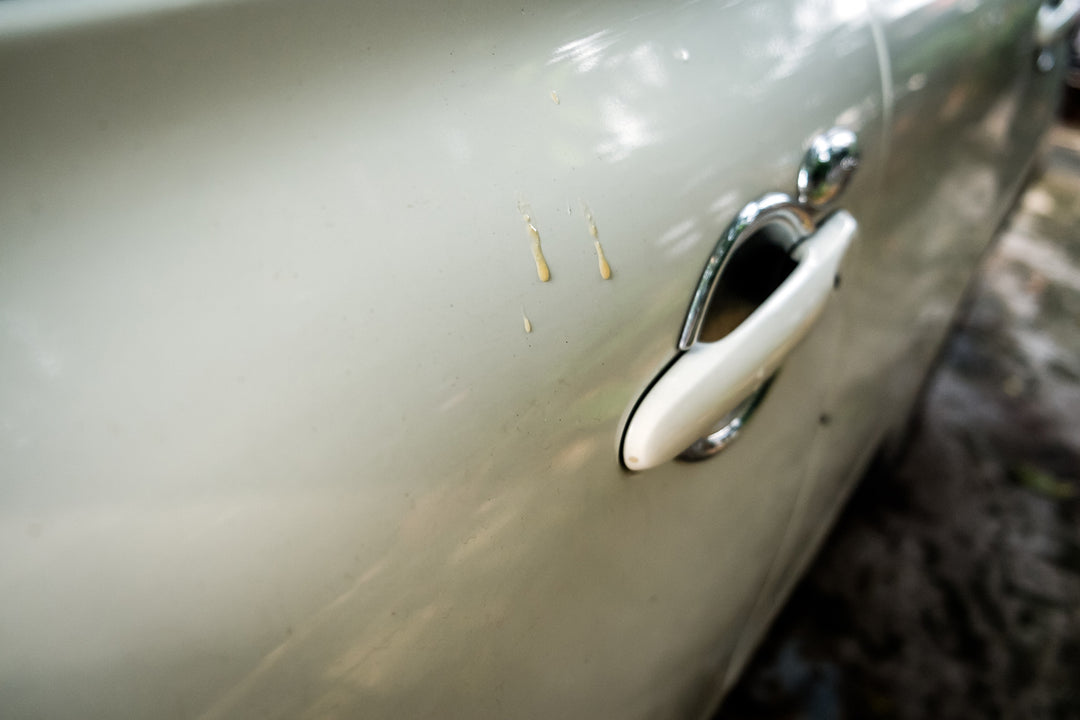
Bird Droppings and Dead Bugs: These natural nuisances can be acidic and cause damage to a car's paintwork if left untreated. Regular cleaning can mitigate this risk.
Loose Stones, Rocks, and Pebbles: Driving on roads with loose debris can lead to chips and scratches on a car's paint surface. Being mindful of road conditions can help avoid this damage.
Improper Washing and Waxing: Using improper techniques or tools like a dirty wash mitt or duster can lead to swirl marks commonly found on painted surfaces. Always use clean and appropriate tools for washing and waxing.
Automatic Car Washes: Although they offer convenience, automated car washes are a major contributor to the formation of swirl marks on a vehicle's paint, particularly noticeable on cars with dark colors. The bristles and brushes in these washes can create noticeable marks.
Rubbing: Accidental rubbing against a car's paint surface with a hard or abrasive object can cause scratches. Being cautious around your vehicle can prevent these accidental scratches.
Malicious Behavior: Unfortunately, vandalism and malicious behavior can also cause scratches and damage to a car's paint surface. Parking in well-lit and secure areas can help deter potential vandals.
Preventing Car Scratches
Scratches can occur for a multitude of reasons, some avoidable, others less so. To prevent scratches, it's advisable to stay cautious of the primary culprits of paintwork damage and use proper washing and detailing techniques. At Detailing Express, we offer a range of car care products to help you maintain your car's appearance and protect it from potential damage.
Tools & Products Needed
Before we dive into the process of removing swirl marks and addressing the car's paint, it's crucial to have the right tools and products at hand. Here's what you'll need:
For Swirl Marks
Most swirl marks on flat surfaces can be addressed with the following:
· Quality Car Wash Soap: To wash your car and prepare the surface.
· Microfiber Towels: A clean microfiber towel or two will help in wiping down the surface without causing a swirl mark effect.
· Clay Bar and Clay Lubricant: 4 to 8 applications can remove swirls from the clear coat and light colored paint.
· Finishing Polish: 2 to 8 applications for the final touch to ensure the swirl marks are completely removed.
· Separate Bucket: To avoid mixing with other cleaning agents. This method is also considered as the 2 Bucket Method.
· Dual-Action Polisher: For automated car wash and detailed polishing.
For Scratches
For deeper scratches that affect the car paint and bare metal, you'll need:
· Sandpaper (Various Grits): To smooth out the affected areas.
· Rubbing Compound: To remove the scratches and prepare for paint correction.
· Polishing Compound: To restore the shine and protect the clear coat.
· Buffing Pads: To evenly apply the compounds.
Swirl Marks and Scratch Removal
Swirl marks and scratches on a car can be effectively handled by any car owner with the right tools and products. From microfiber towels to finishing polish, these essentials will help you notice swirl marks and take the necessary steps to restore your car's paint to its original glory.
Step-by-Step Guide to Removing Swirl Marks

Preparing the Surface
Wash the Car: Utilize a gentle car wash soap designed for your car's paint, and a wash mitt to cleanse the surface. This step is crucial to ensure that the clear coat is ready for the next stages.
Dry the Car: Carefully pat dry with a microfiber towel. This action helps prevent further swirl marks on the car's paint and maintains the integrity of the clear coat.
Applying the Correct Products
Choose the Right Polish: Select a swirl remover polish specifically designed for your car paint type. The right product will align with the clear coat and underlying color.
Apply the Polish: Utilize a dual-action polisher for even application across the car's paint. This ensures that the clear coat receives a uniform treatment.
Polishing Techniques
Work in Sections: As a car owner, it's wise to polish one section at a time. This approach allows for focused attention on each part of the car's paint, ensuring that the clear coat is treated consistently.
Use Proper Pressure: Apply moderate pressure to remove swirl marks without damaging the paint or clear coat. Too much or too little pressure can lead to uneven results or further damage to the car paint.
Swirl marks on a car can be effectively removed by any car owner with the right approach and attention to detail. From selecting the appropriate polish for the car paint to using a wash mitt and microfiber towel, these steps ensure that the clear coat is preserved and the car's appearance is restored to its original shine.
Step-by-Step Guide to Removing Scratches on a car

At Detailing Express, we know that scratches on your car's surface can be a real concern. Here's our expert guide to help you remove those unsightly marks and restore your car's appearance:
1. Wash and Dry Your Car
Start by washing and drying your car thoroughly to remove any dirt or debris that could interfere with the scratch removal process.
2. Protect Surrounding Areas
Use adhesive tape (masking tape is recommended) to cover areas near the scratch. This step ensures that the surrounding paint remains protected during the process.
3. Apply Scratch Remover or Polishing Compound
Apply your chosen scratch remover product or polishing compound on a microfiber cloth. At Detailing Express, we offer a range of scratch removal products suitable for various paint types.
4. Polish the Scratch
Polish the scratch using firm finger pressure in a back-and-forth motion for about 30 seconds. This action helps to work the compound into the scratch.
5. Wipe the Area Dry
Dry the area by using a fresh microfiber towel or terry cloth, ensuring any surplus compound is eliminated.
6. Rinse and Check Progress
Rinse the area with water to check your progress and ensure you have reached the bottom of the scratch.
7. Sanding (if needed)
In the case where the scratch slightly exceeds the depth of the clear coat, employ 1500-grit sandpaper to even out the area's surface. Afterward, utilize 2000-grit sandpaper to eliminate the scratches left by the coarser variant. Be cautious to avoid getting dirt or debris between the sandpaper and the vehicle.
8. Rinse After Sanding
After sanding, rinse the area with water to remove any residue.
9. Apply Wax or Sealant
Finish by applying a quality wax or sealant to protect the repaired area. Explore our wax and sealant products for the perfect finish.
Important Note
The precise steps can differ based on the depth and seriousness of the scratches. We recommend testing any products or techniques on a small, inconspicuous area of the car before applying them to the entire scratch.
At Detailing Express, we're here to help you keep your car looking its best. Explore our full range of products for all your car care needs.
FAQs
Q: Can all scratches be removed?
A: Shallow and medium scratches can usually be removed, while deep scratches may require professional repair.
Q: How often should I polish my car?
A: Polishing once or twice a year is typically sufficient.
Q: Can I use household products to remove scratches?
A: It's best to use automotive-specific products to avoid further damage.
Q: What's the difference between polishing and waxing?
A: Polishing removes imperfections, while waxing protects the paint.
Q: Can I remove swirl marks by hand?
A: Yes, but using a dual-action polisher will yield better results.